
Despite the questionable weather (what was that snowstorm on Monday?!), I think it is safe to say that jumping full force into spring is now appropriate. After all, Easter is just around the corner. Growing up, we always honored the full Holy Week. Good Friday, specifically, was a day that we would draw the shades and sit quietly reading a book from 9am – 12pm to honor the time Jesus died on the cross. It was a time of reflection. When Easter Sunday finally came, it was sometimes an even bigger deal than Christmas! We were always taught that Easter is the most important holiday!
The Easter bunny always brings (yes – the Easter bunny still comes) my siblings and I lots of fun goodies – and of course plenty of sweet treats! Usually there is a trail of jelly beans or robins’ eggs leading from our bedrooms to our Easter baskets. I still love waking up at my parent’s house on Easter morning, because it is so fun to be together in the morning and indulge in a few sweets before dressing up and heading off to Mass. Easter has to be the happiest Mass of the entire year – especially when the church is full of beautiful blooms. I think it is no secret just how much I love flowers.
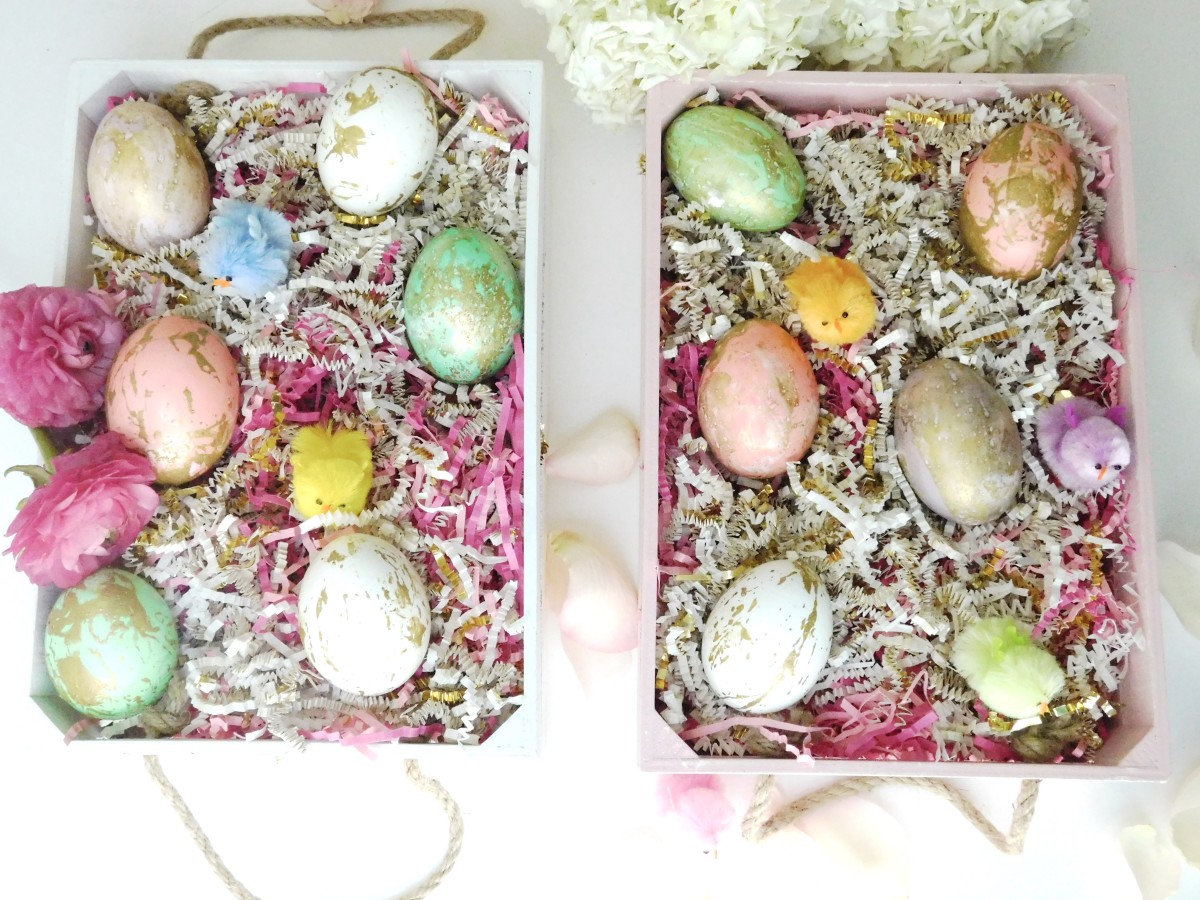
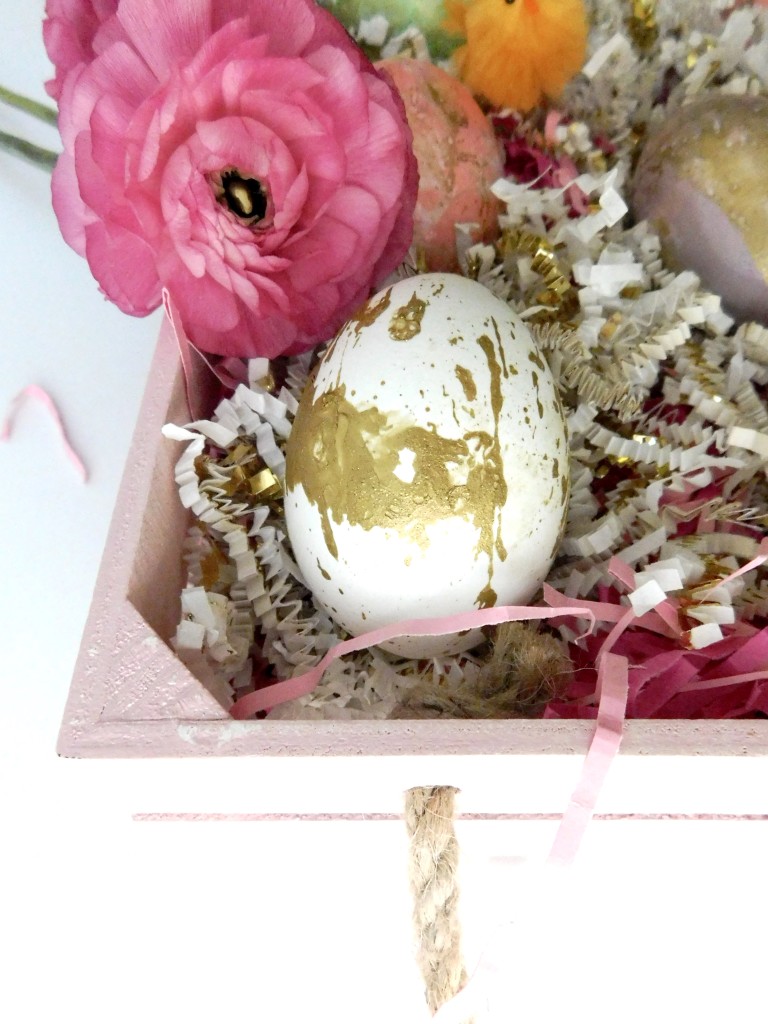
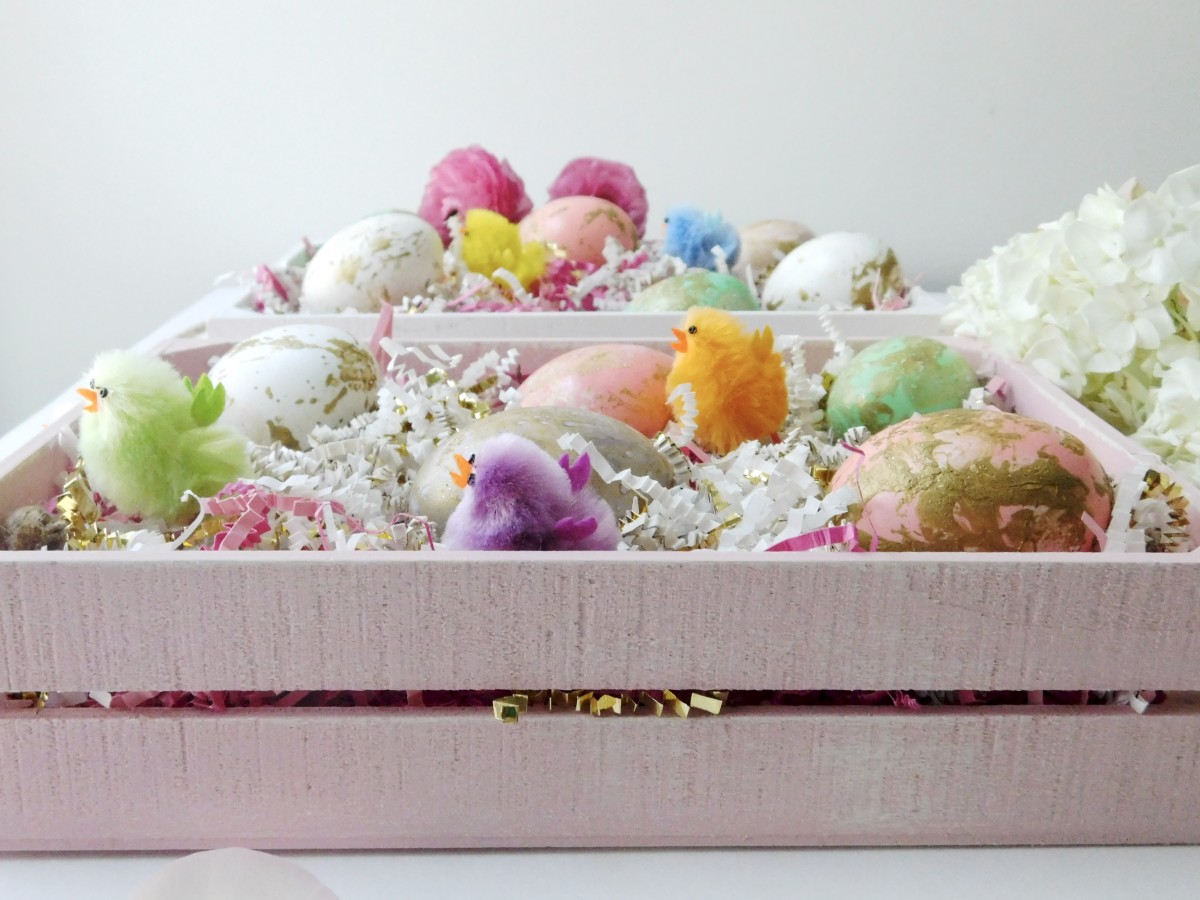
One of my favorite activities of the spring is coloring Easter eggs! Last year’s eggs were color blocked with gold paint and regular dye. I used rubber bands to get the look – you can see how here. This year, I decided to experiment with a gold marbled look.
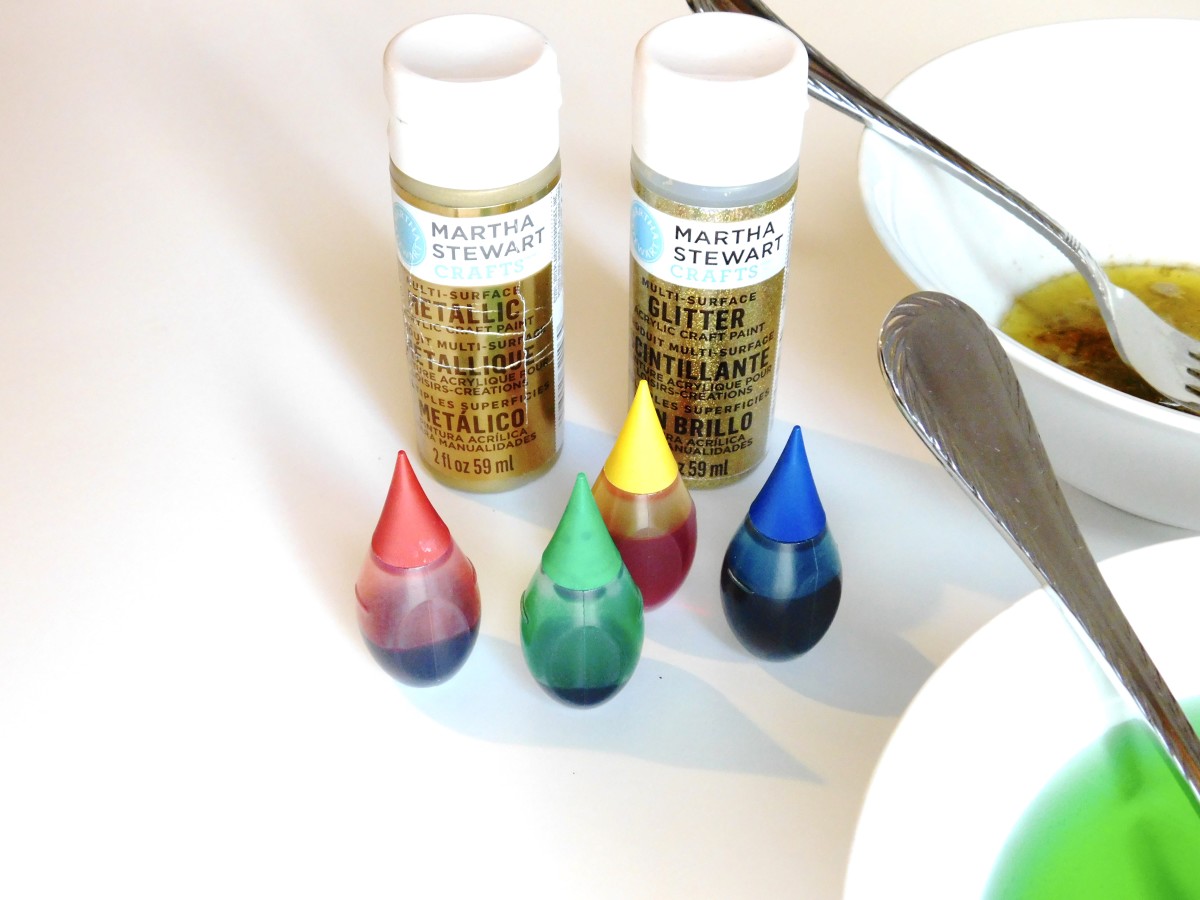
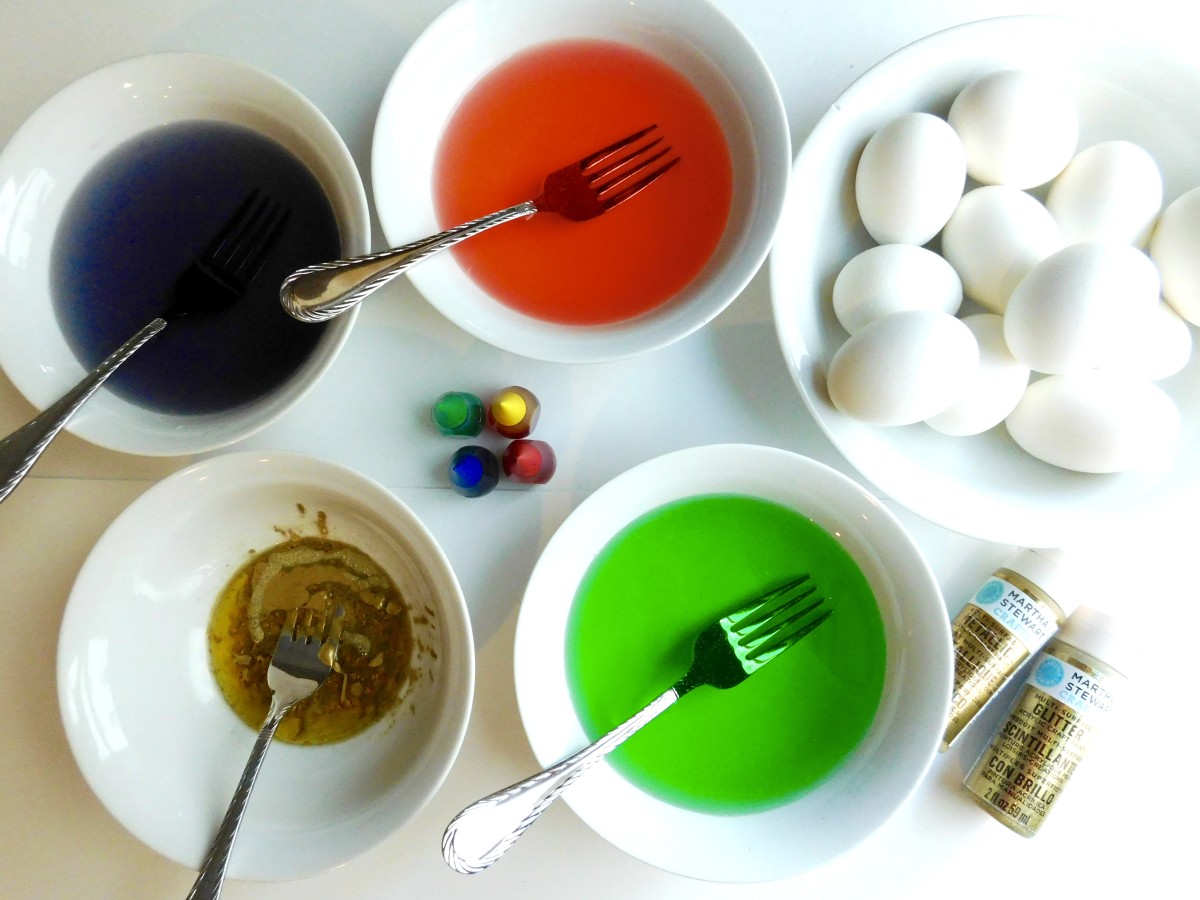
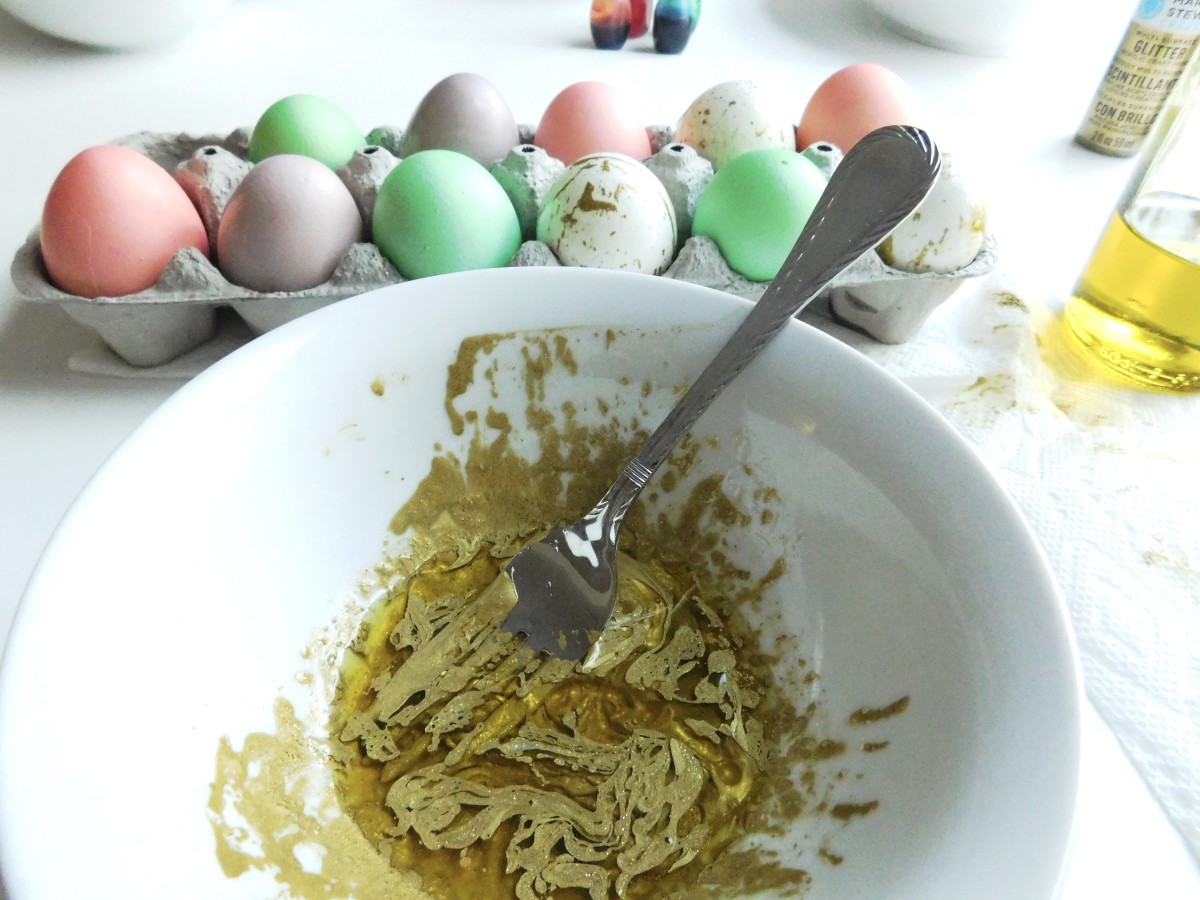
After dying the eggs regularly with food coloring (a drugstore kit works well too), I prepared a little mixture of gold paint. The key here is olive oil! The oil mixed with the paint ensures that when an egg is dipped in the paint/oil mixture, the paint won’t stick everywhere.
Mix a tablespoon of gold acrylic paint (I mixed some glitter paint in there as well) with about 2 tablespoons of water and just a drizzle of olive oil. You’ll want to see the oil making a marbled look in the paint mixture. Lightly roll a dyed egg in the mixture and dab the excess oil with a paper towel. Then, let dry overnight. In the morning you may have to blot excess oil as well.
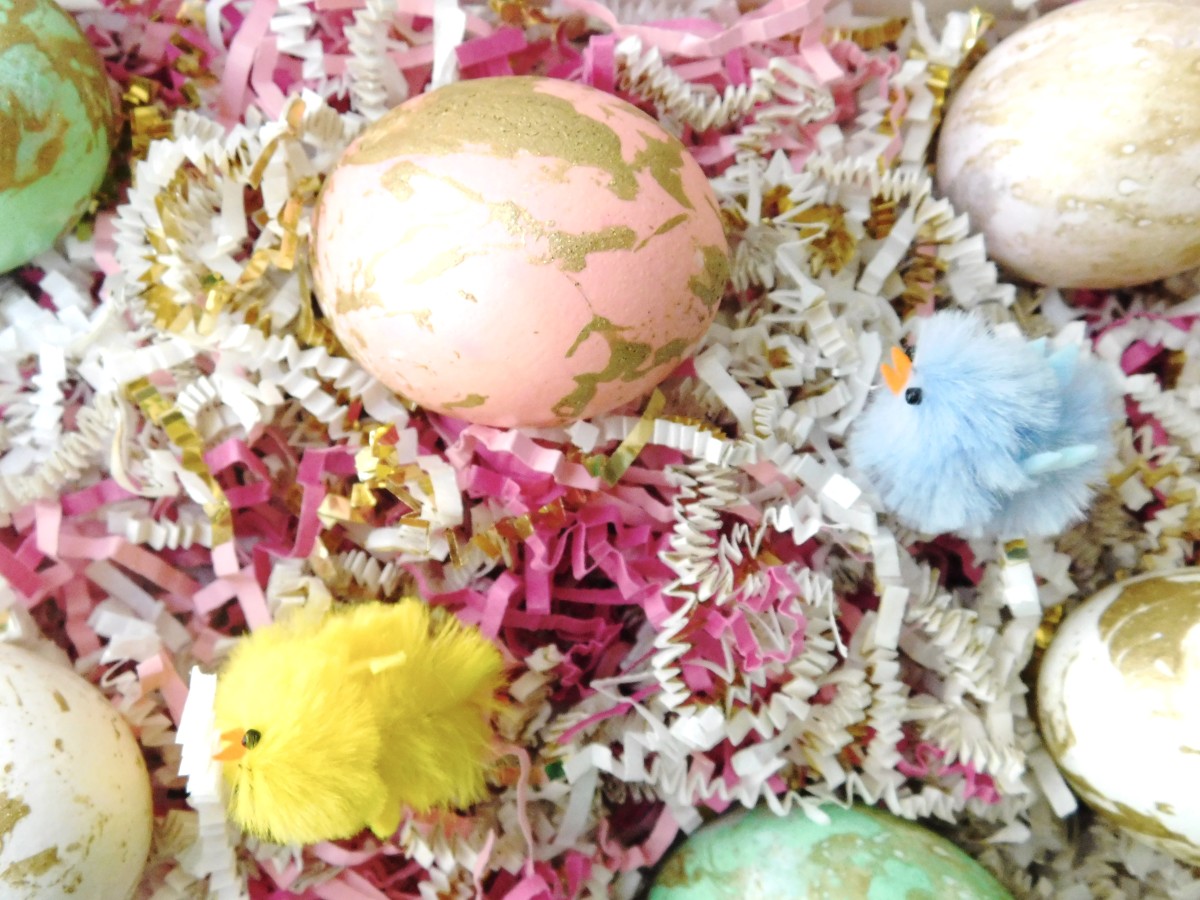


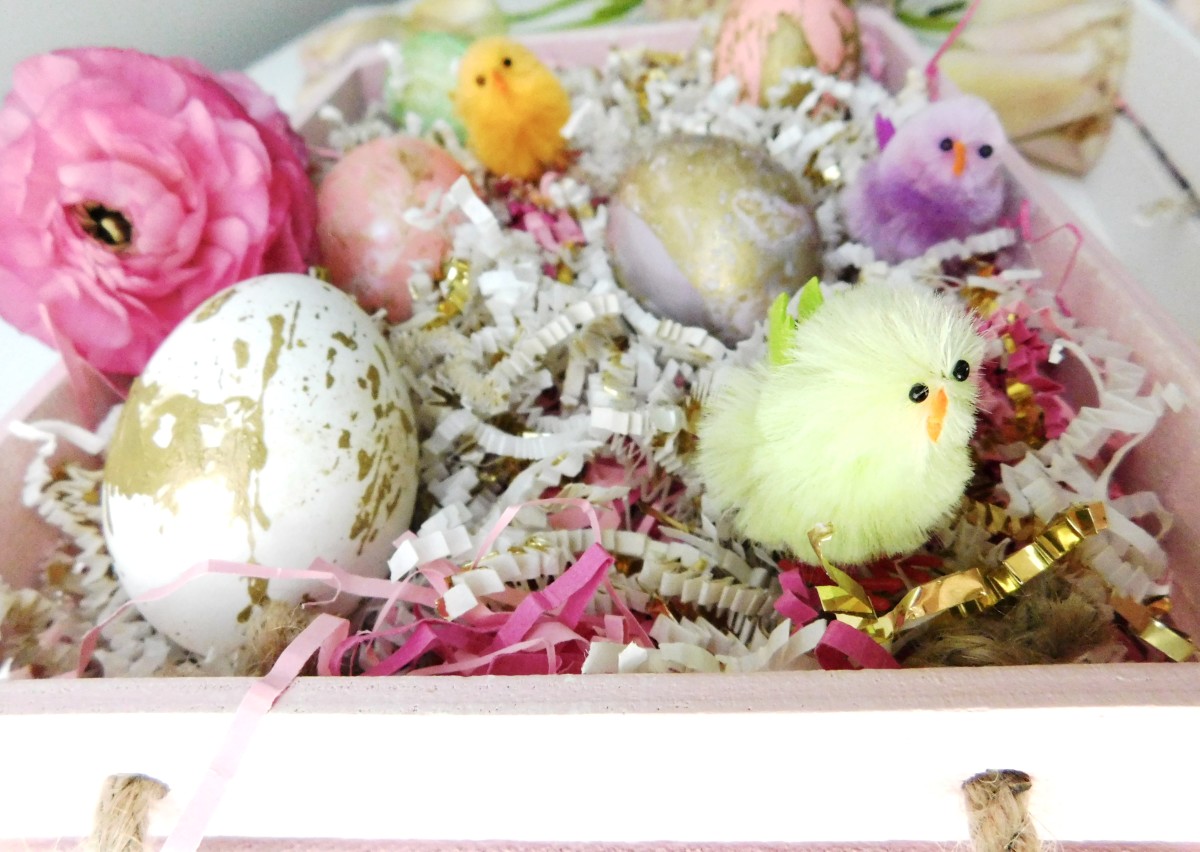
How precious are these fuzzy chicks? I saw them at Paper Source and just had to take them home with me.
I hope you are excited for Easter this year if you celebrate! This is such a happy time of year!
What do your Easter eggs look like this year? I’d love to see!
xo -L

I don’t know why, but I love Holy Week. I think it’s because I’m usually singing and I love the music, but it’s a very special time for me too. These easter eggs are so so pretty!!
Jasmine | The Sixth Disney Princess
This looks like such a beautiful DIY! I’d love to try this for my own home!
Aw hearing about your family traditions makes me miss my fam back East– such a special time. These eggs are SO impressive! I don’t know if I have the chops for it, but I’ll definitely be sharing this tutorial. So glad I met you, Leigha!
These are so gorgeous!! I don’t think I’ve ever seen them done so beautifully!!
These are so cute! I really want to get crafty for Easter
xo
http://www.laurajaneatelier.com
LOVE these! Currently in the process of making my egg coloring plans for this weekend…definitely adding this one to the list 🙂 🙂 Too pretty!
These marbled eggs are like a work of art. Gorgeous. :]
// ▲ itsCarmen.com ▲
Ohhh love these! They are definitely some of the prettiest easter eggs I have seen. Good job!
xo, mikéla / simplydavelyn.com