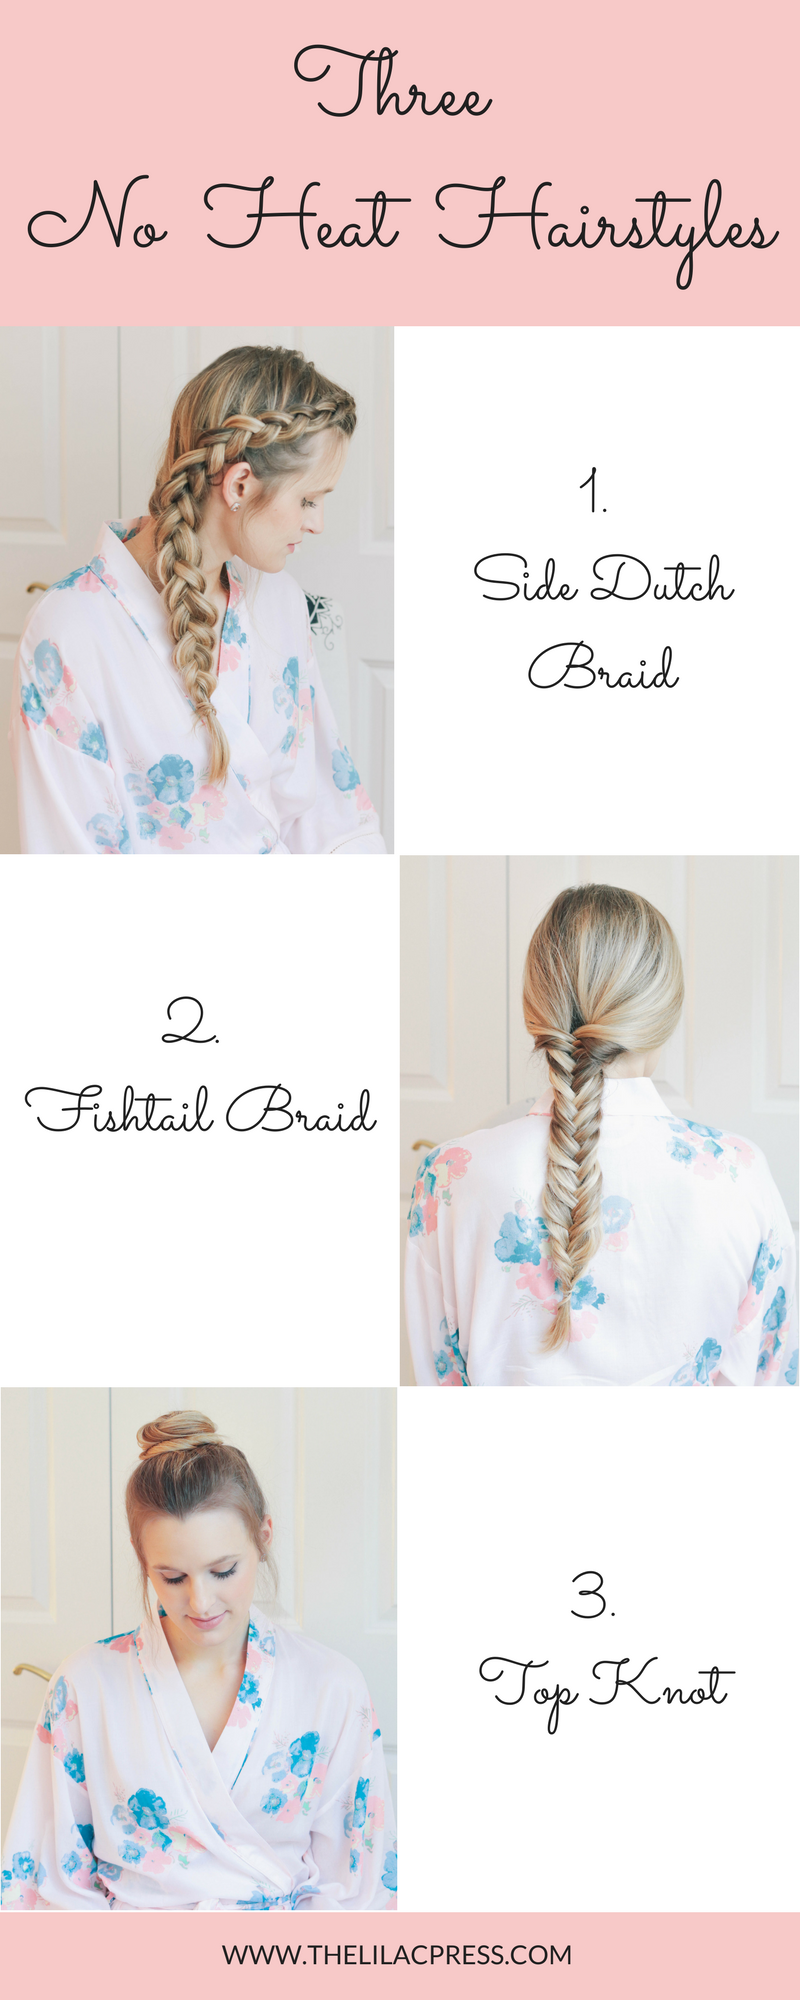
After years of daily washing and blowdrying, frequent curling, and regular highlighting, I’ve come to realize my hair has taken quite a bit of damage. I don’t know what took me so long to do something about it, but for the past year or so, I’ve been making some changes that have helped a lot.
For one, I only wash my hair every other day at the absolute most, and I try to go even longer if at all possible. Secondly, I almost never blow dry my hair and instead let it air dry as much as possible. Admittedly, I will take the blow dryer to it for about 30-60 seconds (no more!) just to speed the process up. I’ve made air drying my hair a priority, so it has caused me to rearrange my schedule from time to time, and of course there are always occasions when it just isn’t feasible, and that is okay! As long as your hair is generally healthy, it can take the heat from time to time!
The biggest key to maintaining healthy hair is to avoid using heat at all costs! Personally, I love curling my hair. My absolute favorite hairstyle is long, luxurious loose waves; however, your hair definitely pays a price for repeated hot iron use. I’m down to curling my hair once, maybe twice, per week. Of course, using the right conditioning products helps immensely as well. You can shop my arsenal of products and read more about my haircare routine here.
For the rest of the week, I’ll either just let my hair be completely natural (I have fairly straight hair with slight waves), or I’ll opt for one of my favorite “no-heat” hairstyles below.
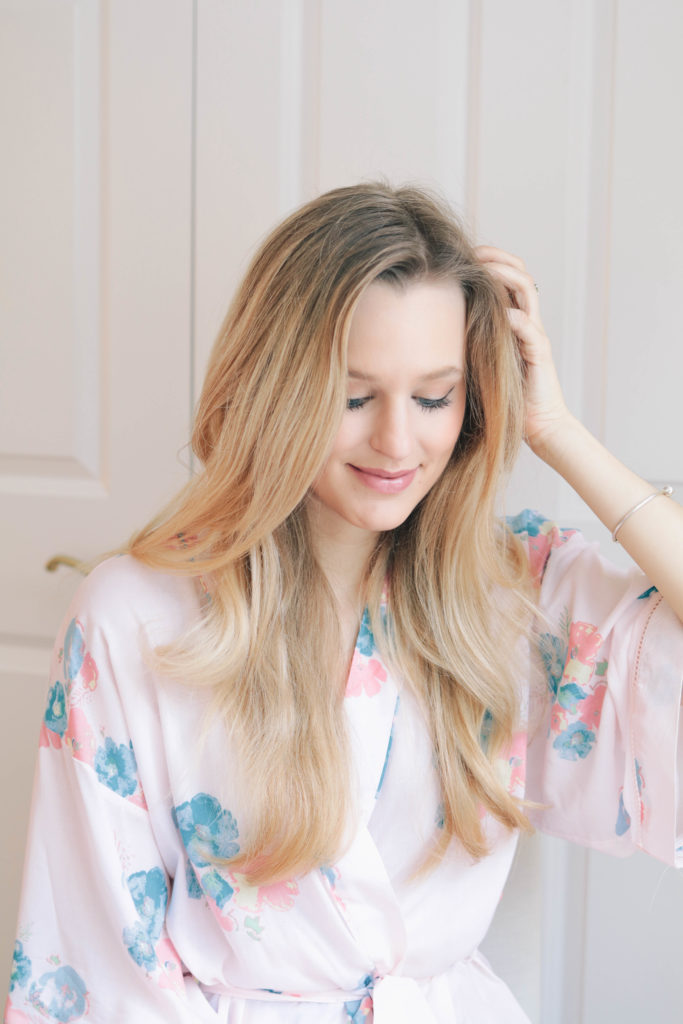
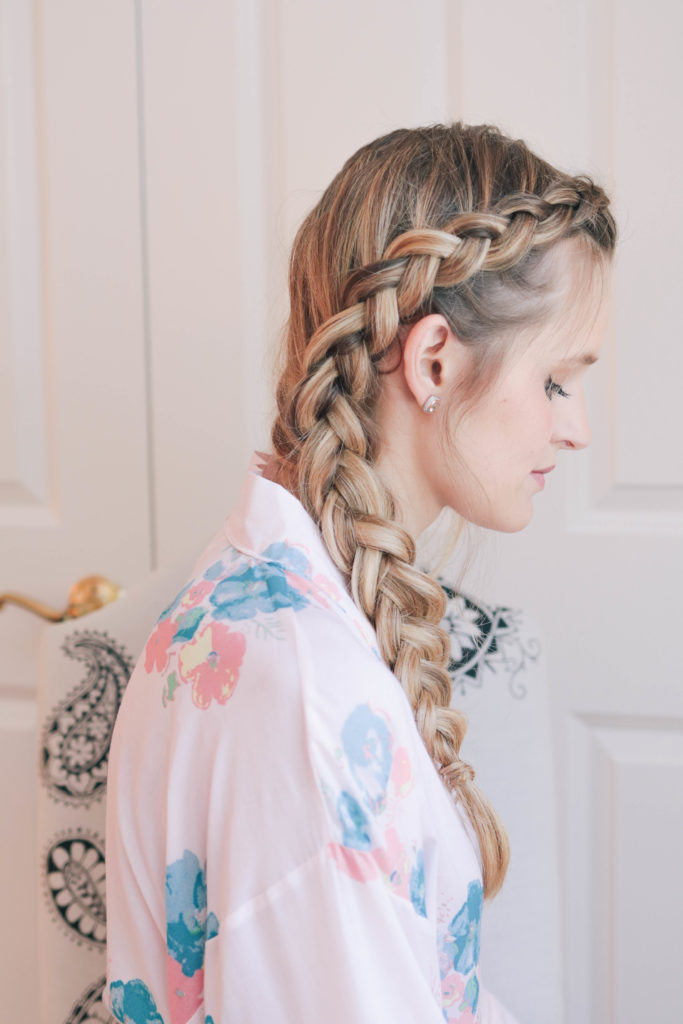
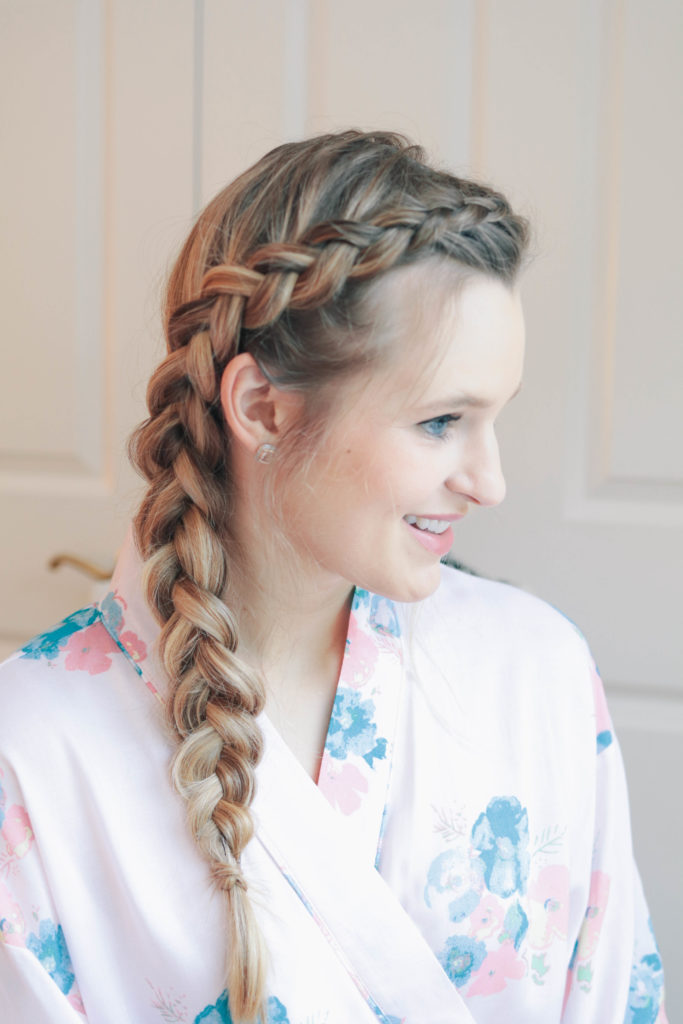
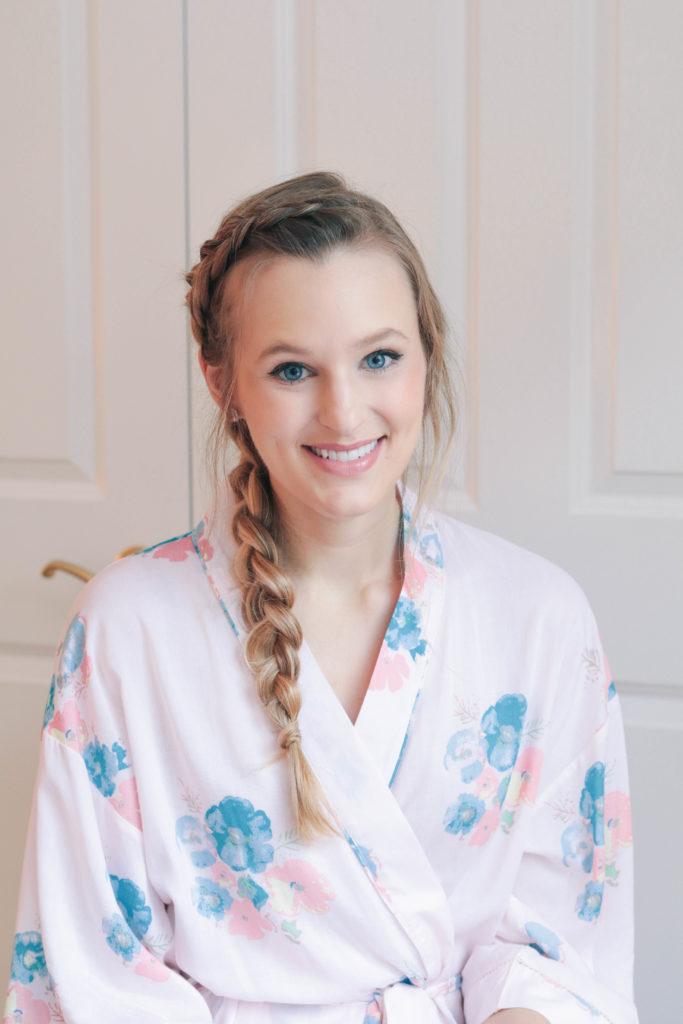
ONE // Side Dutch Braid
This is much easier than it looks – once you get the hang of it. A Dutch braid is just an inside out French braid. I like to part my hair more to the side than I normally would and start this look off as a headband braid. Start with three small pieces, and cross one outer piece under the middle piece. Then do the same with the other outer piece (except the new “middle” piece is now the original opposite outer piece). Start this process again, but each time you cross an “outer” piece under the “middle” piece, grab a little extra hair nearby.
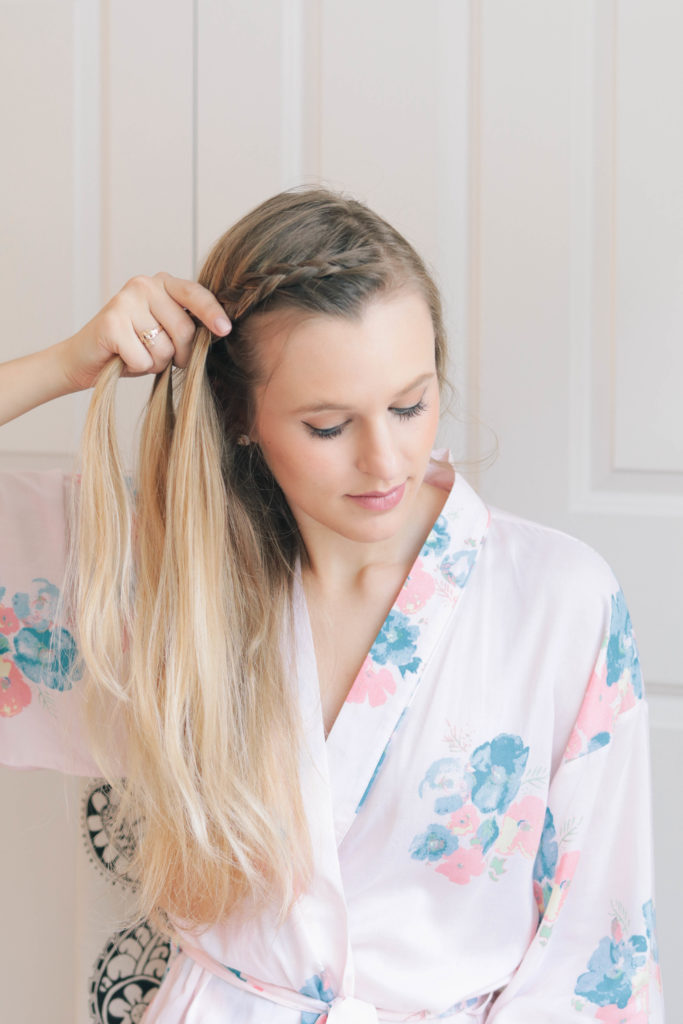
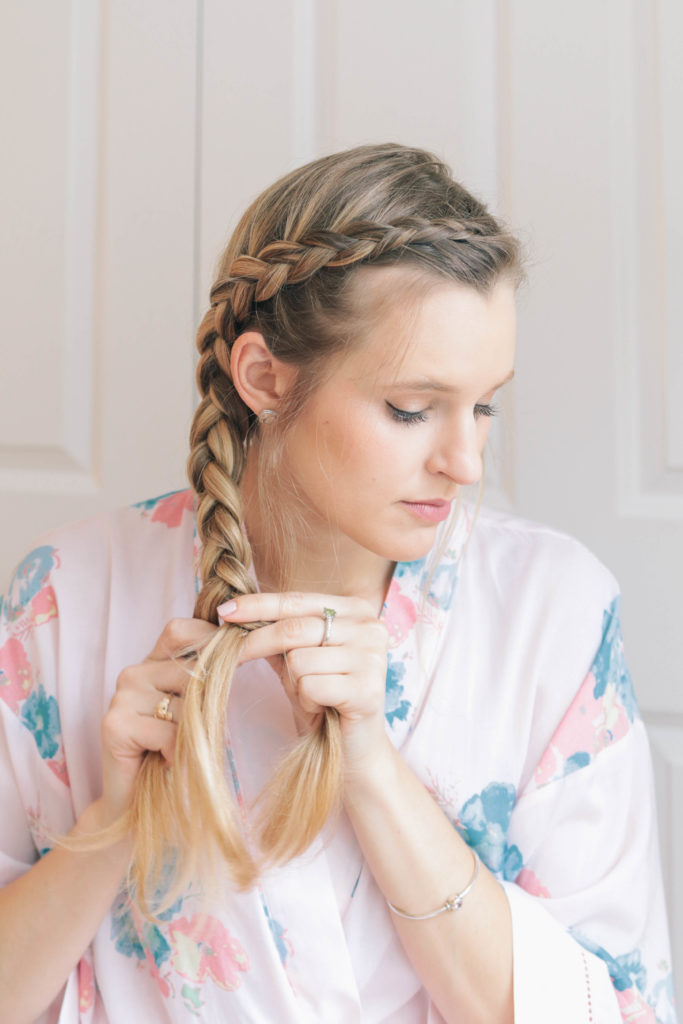
Continue the headband style braid all the way down behind your hair, incorporating more and more hair as you go. Secure the braid at the bottom with a small elastic. I like to wrap a strand of hair around the elastic for a more polished look. Next, I pull the braid apart to make it look fuller. Basically, I just loosen up the braid to create a slightly messy, thicker illusion. Naturally, my hair is very fine and not all that thick, so I love that I can make it look fuller this way.
TWO // Middle Fishtail Braid
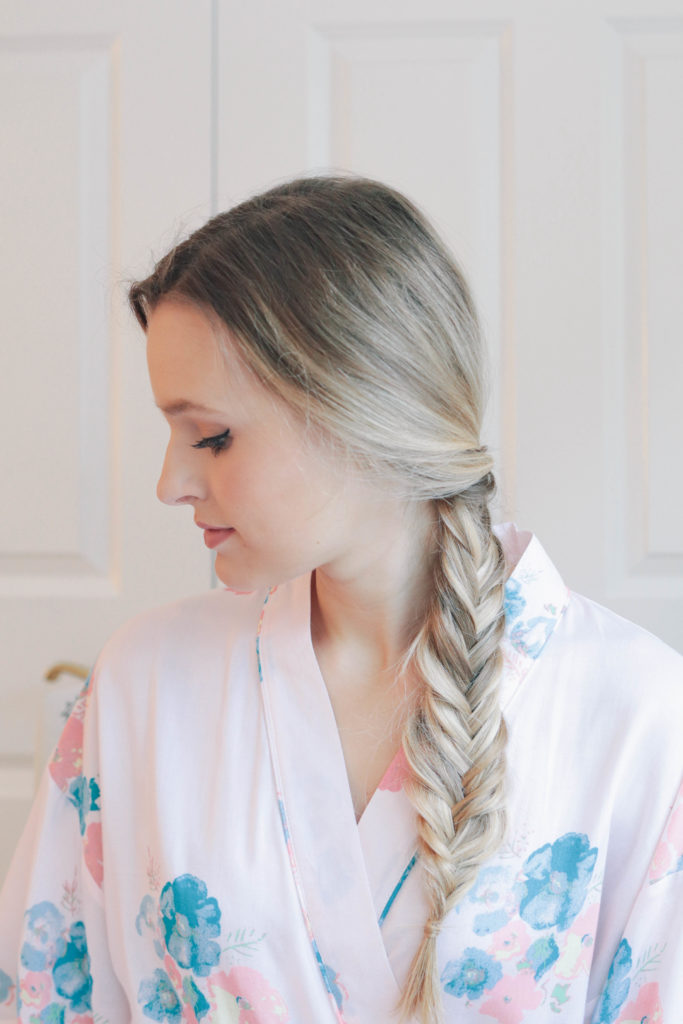
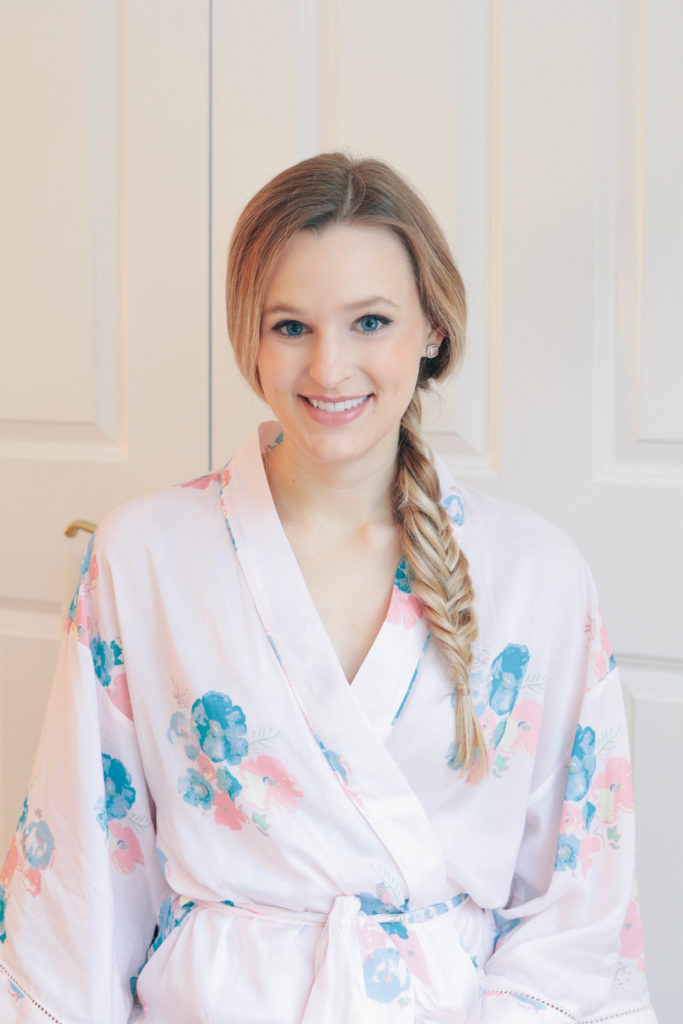
Whenever I braid my hair in a fishtail, everyone always seems so impressed! Little do they know that this is actually the easiest braid to do; in my opinion, it is much easier than a Dutch braid. Start by simply separating the hair to be braided into two equal sections. You’ll essentially just be working with two sections the whole time. Take one small strand (I aim for about 1/4 in., but the smaller the strand, the more intricate the braid will look) from the outer edge of one of the halves, and cross it over to join the other half. Take another small strand from the outer edge of the other half and cross it over the join the first half. After this process, you should still be holding one half of your hair in each hand. For more images and tips on fishtail braiding, check out this post.
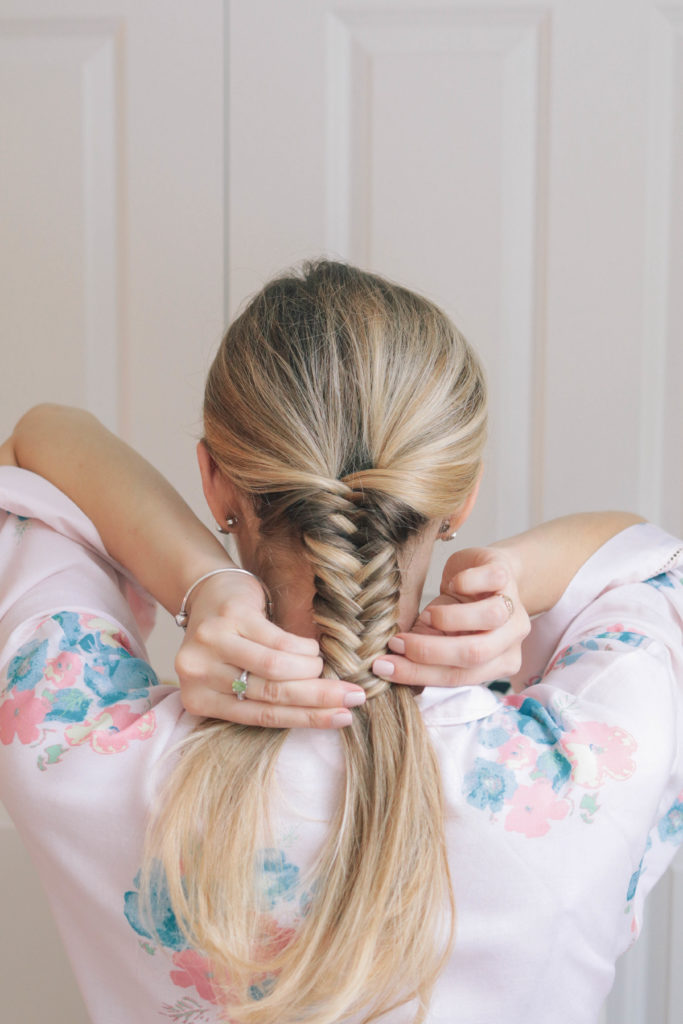
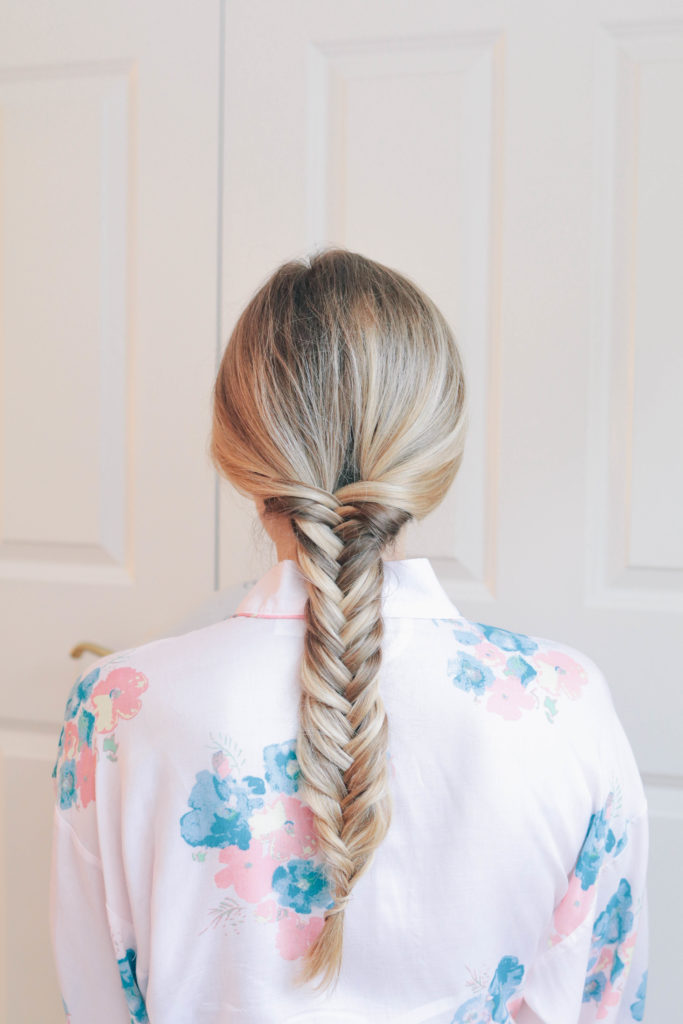
Continue this process all the way down, and secure with a small elastic. Since I tend to do my fishtails rather tight, I like to pull the pieces apart slightly as well to create a fuller braid.
THREE // Top Knot
This is arguably the simplest and easiest of all of the “no-heat” hairstyles. I always start by teasing or “backcombing” the crown. I know this isn’t the best thing to do for your hair, but a little bit of light teasing helps ensure a full and even ponytail. Once you think there’s enough volume in place, pull all your hair back into a high ponytail. I like to secure mine with a thicker elastic with a silicon grip so I don’t have to worry about it sliding out.
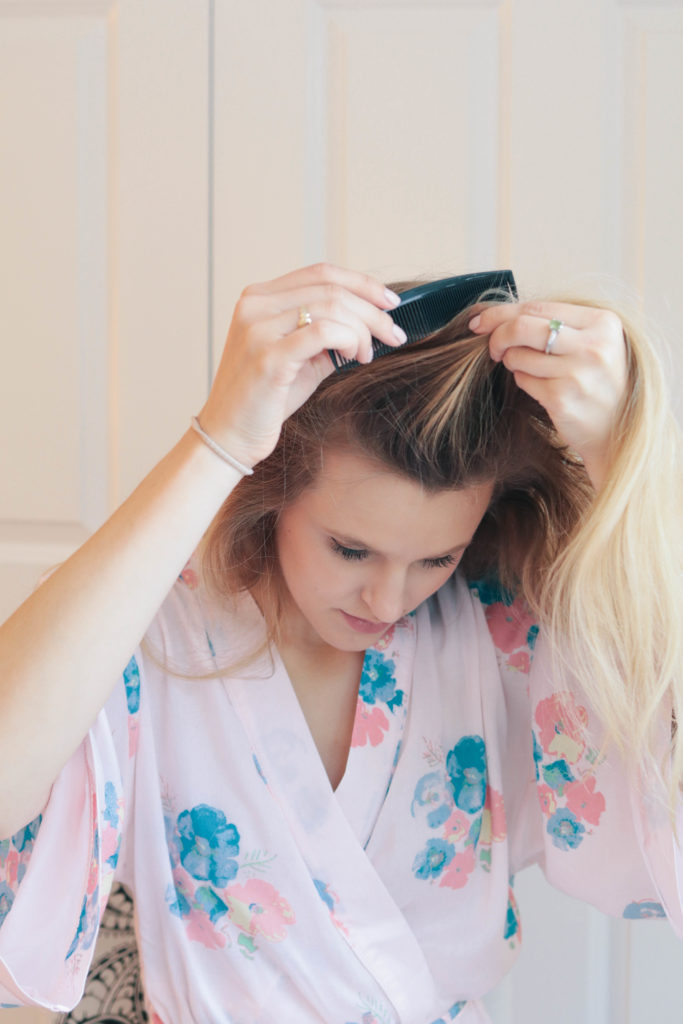
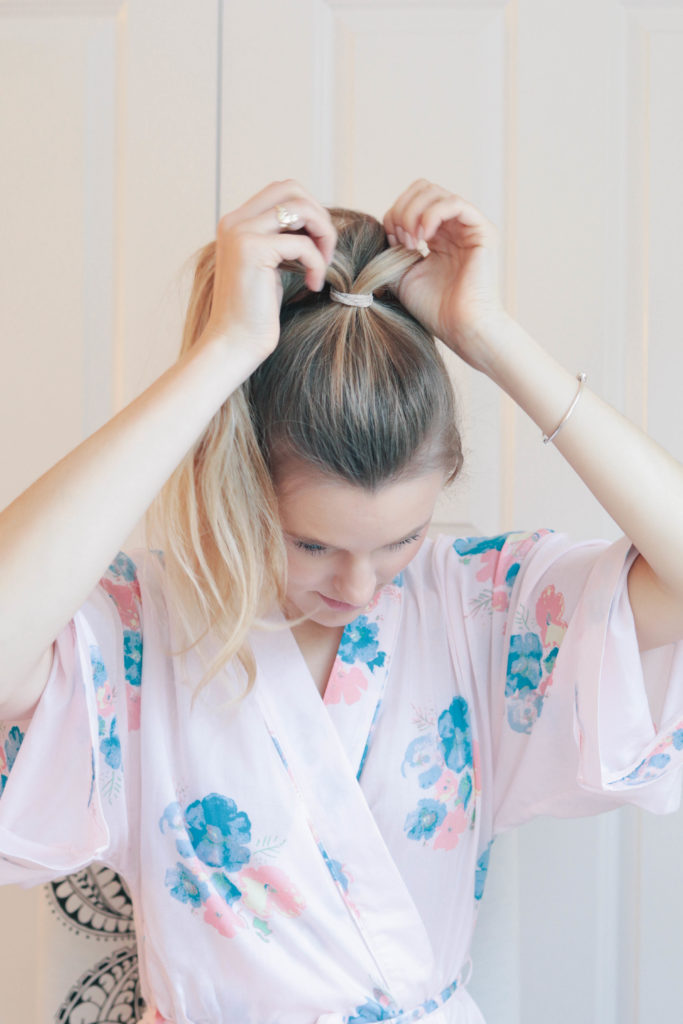
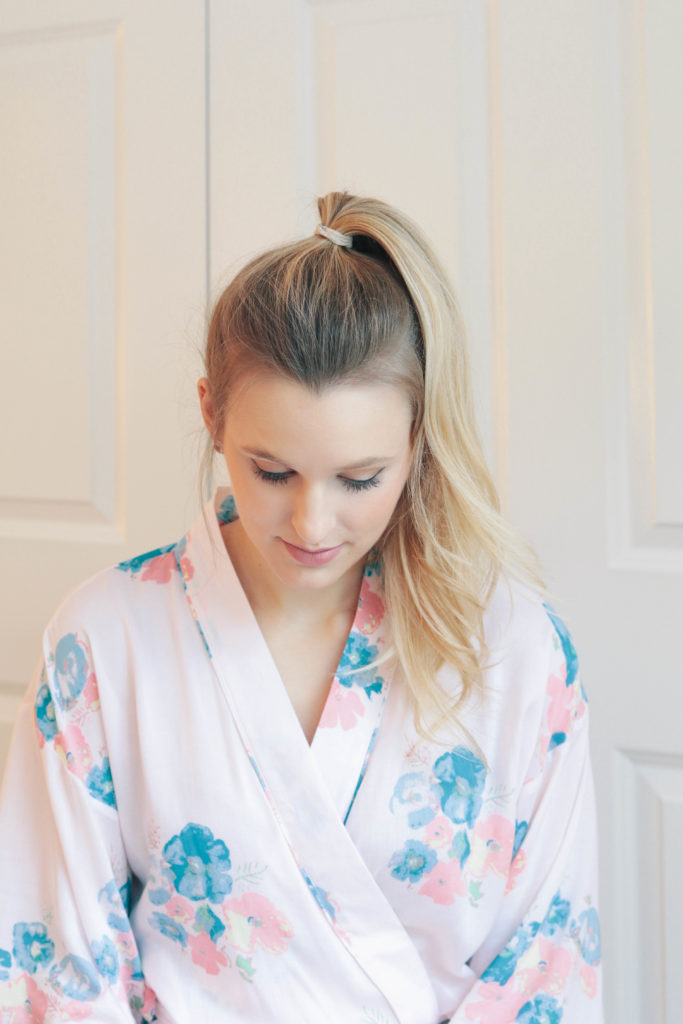
Once the pony tail is in place, loosely twist the hair and wrap it around the base of the ponytail where the elastic is. Tuck the ends underneath and secure with bobby pins. I usually use about 4 or 5 pins to surround the bun. Voila! Yu’ll be ready in minutes!
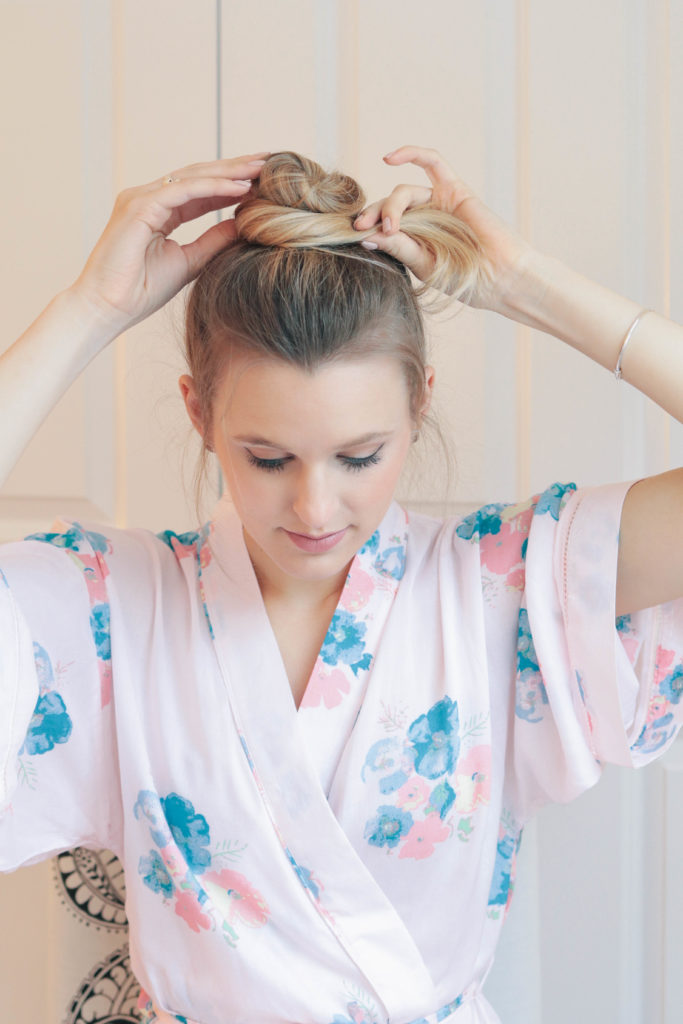
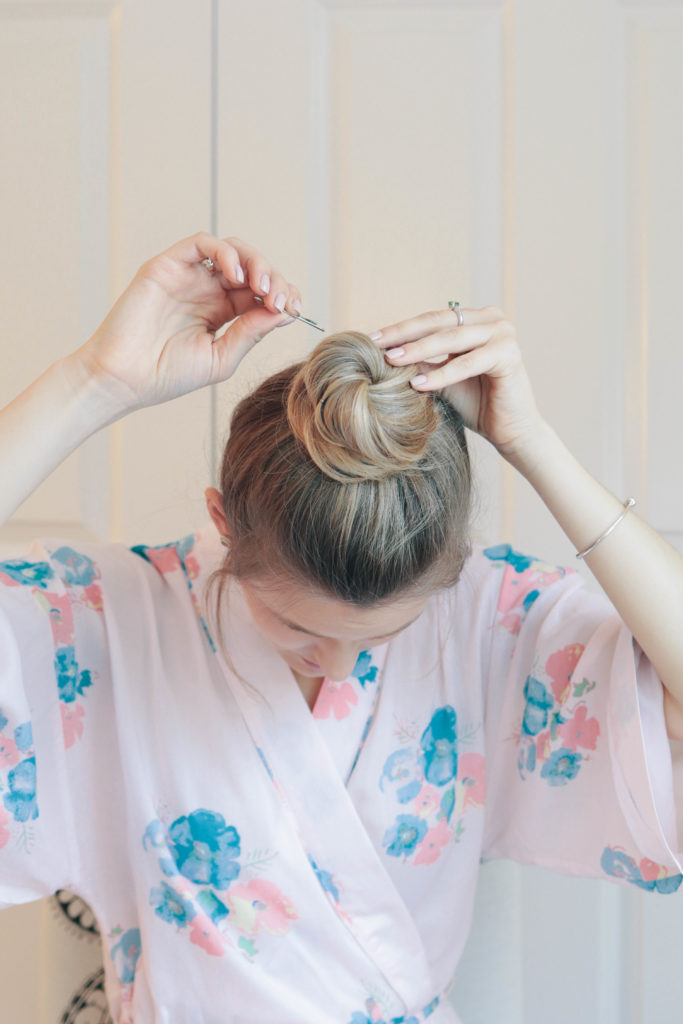
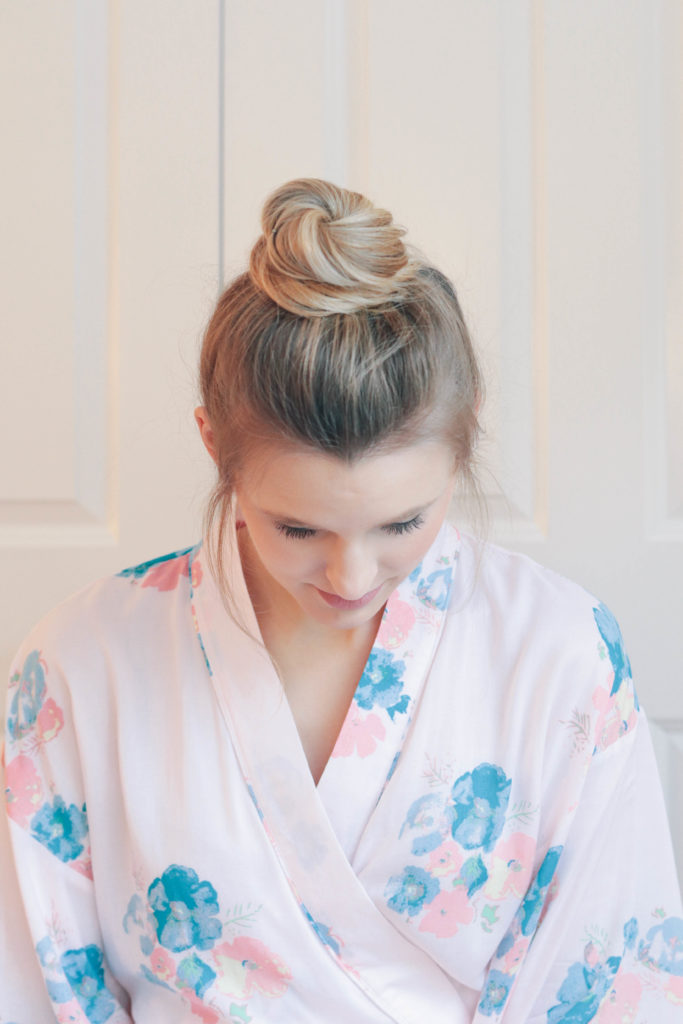
Be sure to keep these hairstyles in mind when getting ready each morning. By reducing heat use, you’ll be sure to minimize damage and maximize strength and shine.
What are your favorite hairstyles for avoiding heat? Let me know in the comments below – I’d love to try them out!
xo -L

Yess girlie! All three hairstyles are absolutely gorgeous, and would be perfect for the spring and summer time! My personal favorite is that side dutch braid.. its so feminine and edgy at the same time! <3 Would LOVE for you to check out my new Mother's Day post! 🙂
XO Jessi,
http://www.mywhitet.com/fragrance-favorites-for-mothers-day/
I wore the first one a ton when my hair was a little longer. I’m still trying to get my fishtail braiding right, for some reason I always end up with more of a knot then a braid!